Contents
What is GenePattern Notebook?
The GenePattern Notebook environment integrates GenePattern's analysis platform with the Jupyter Notebook system, allowing researchers to create documents that interleave formatted text, graphics and other multimedia, executable code, and GenePattern analyses, creating a single "research narrative" that puts scientific discussion and analyses in the same place. This tutorial will familiarize you with some of its most important features.
Register or Login to GenePattern
Open up the GenePattern Notebook Workspace. To use the GenePattern Notebook environment, you will need a GenePattern account. If you do not already have one, click on the "Register" link in the top navigation bar.
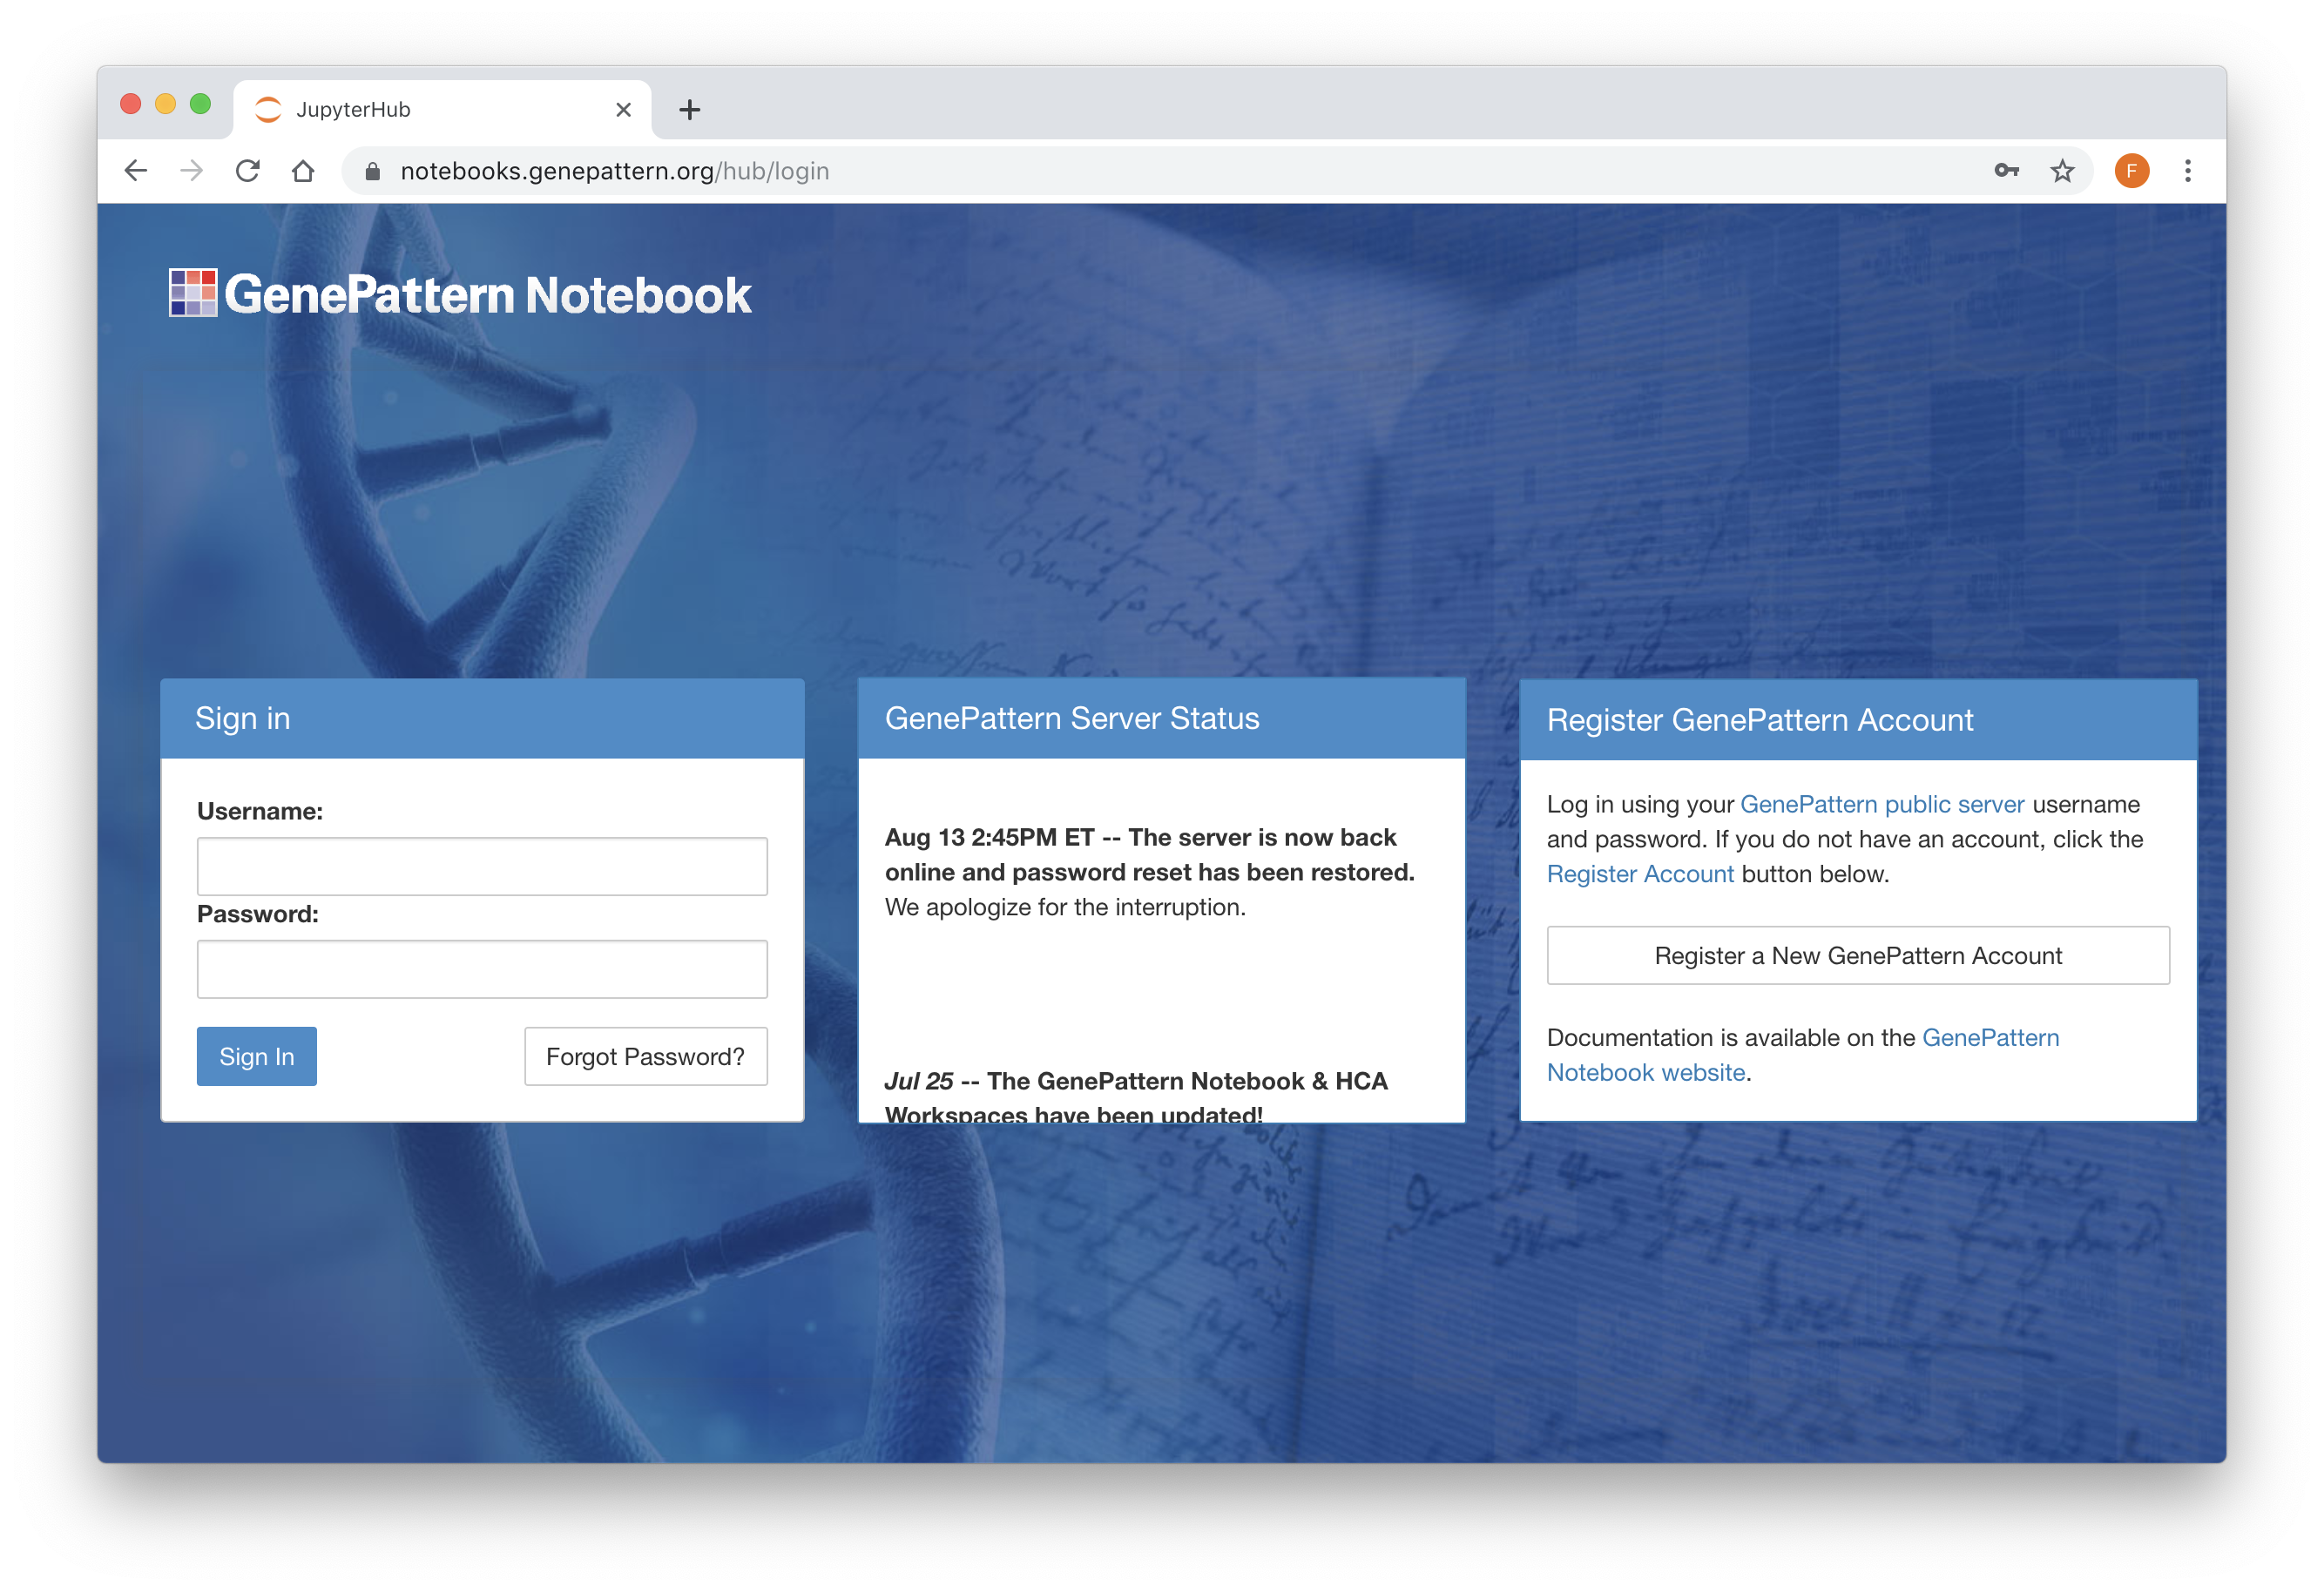
Once you have an account, you can begin using GenePattern Notebook on the GenePattern Notebook Workspace. This option requires no installation and provides the advantage of running your notebooks in the Amazon cloud. If you wish to install the GenePattern Notebook environment on a local machine, you can follow these instructions.
Launch a Notebook Project
Open the "Default Project" by clicking on it.
Each user starts with a default project workspace. Each project allows users to independently install extensions, libraries, data files and other dependencies necessary for their workflows. For more information, go to the Basic Features page.
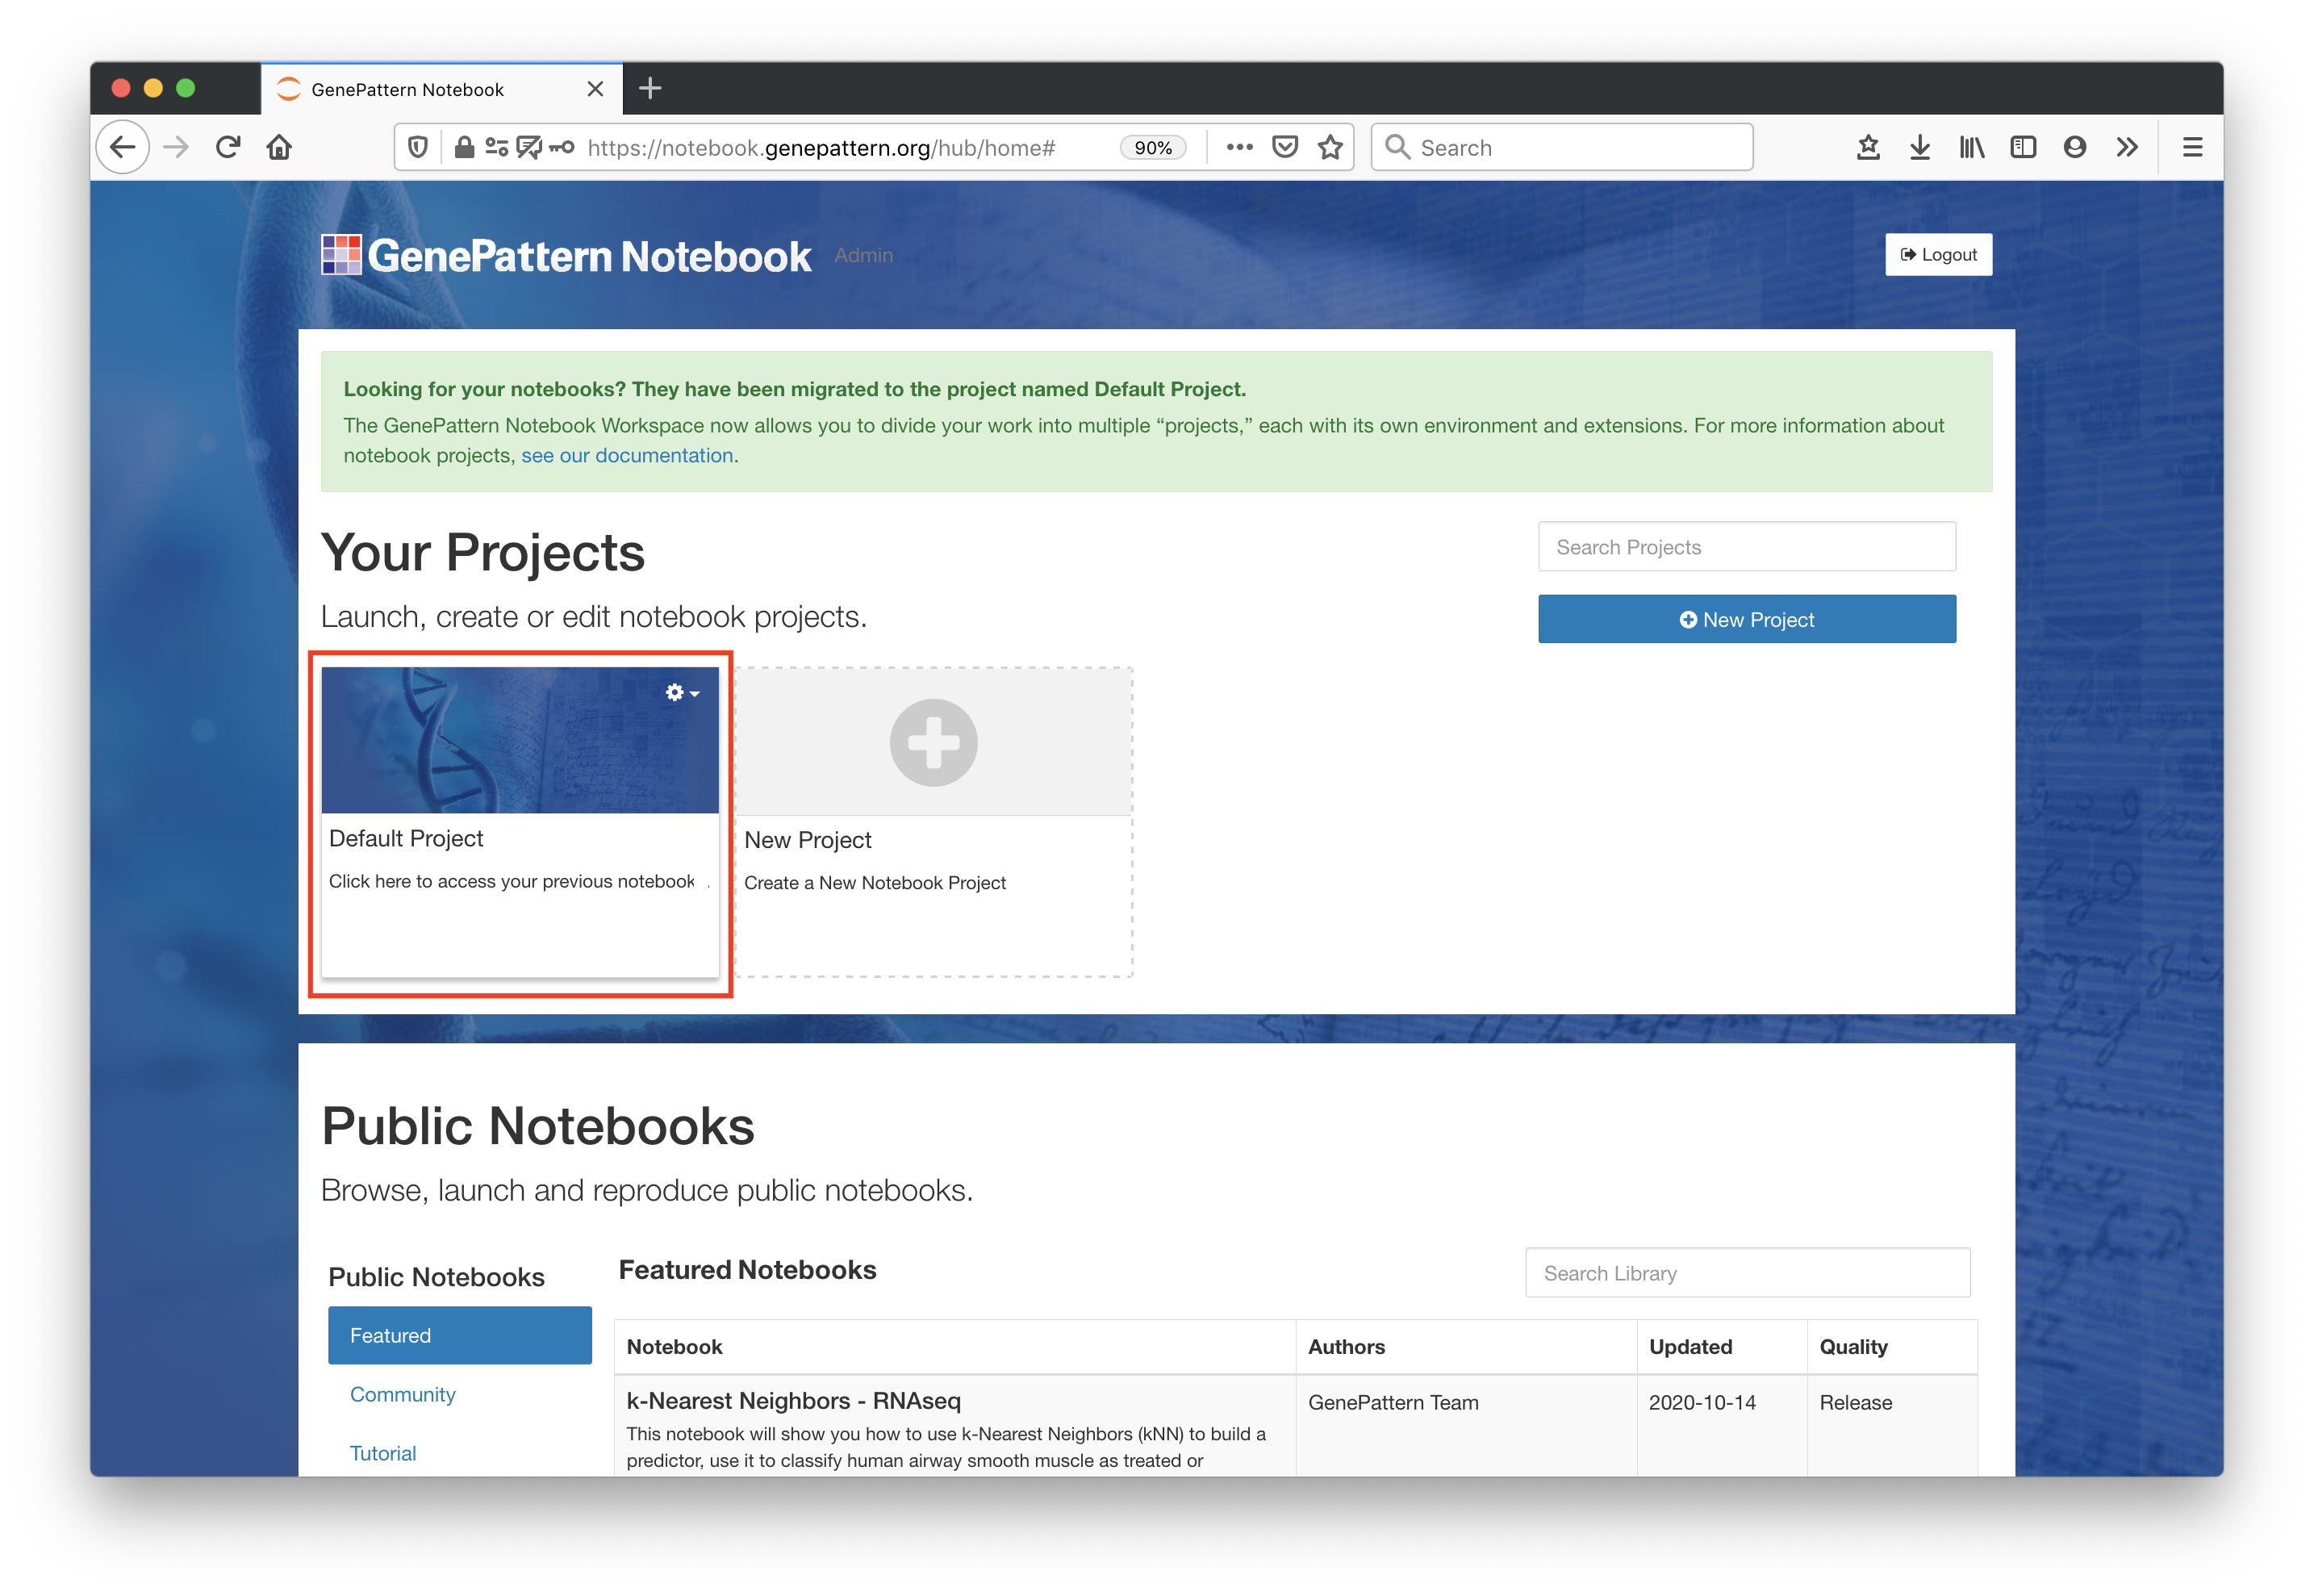
Note - Users who joined before February 2021 had their content migrated into their "Default Project".
Using the GenePattern Notebook Workspace
Navigating the Workspace
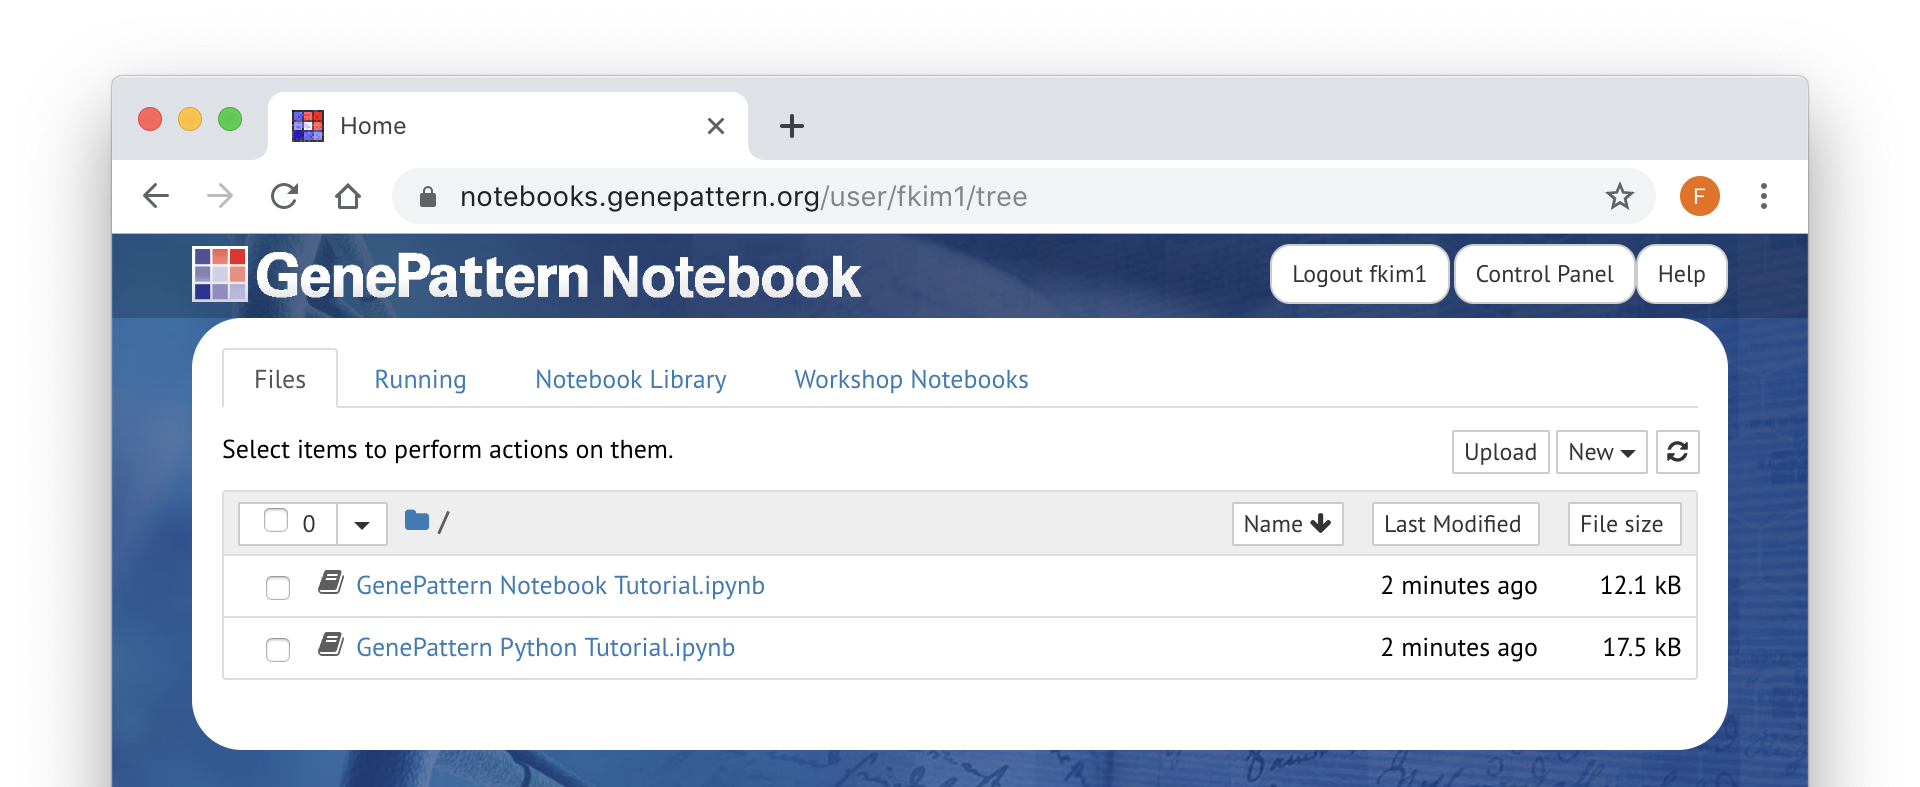
Files (Personal Workspace)
The Files tab contains your personal workspace. Listed here are notebooks or other files which are private to your account Here you can create new notebooks, upload files or organize your file into folders. You will also be able to publish and share notebooks here.
Notebook Library
The GenePattern Notebook Workspace provides a library of public notebooks, which can serve as templates or examples when creating your own. These notebooks can be accessed from the Notebook Library tab. Preview Notebook Library
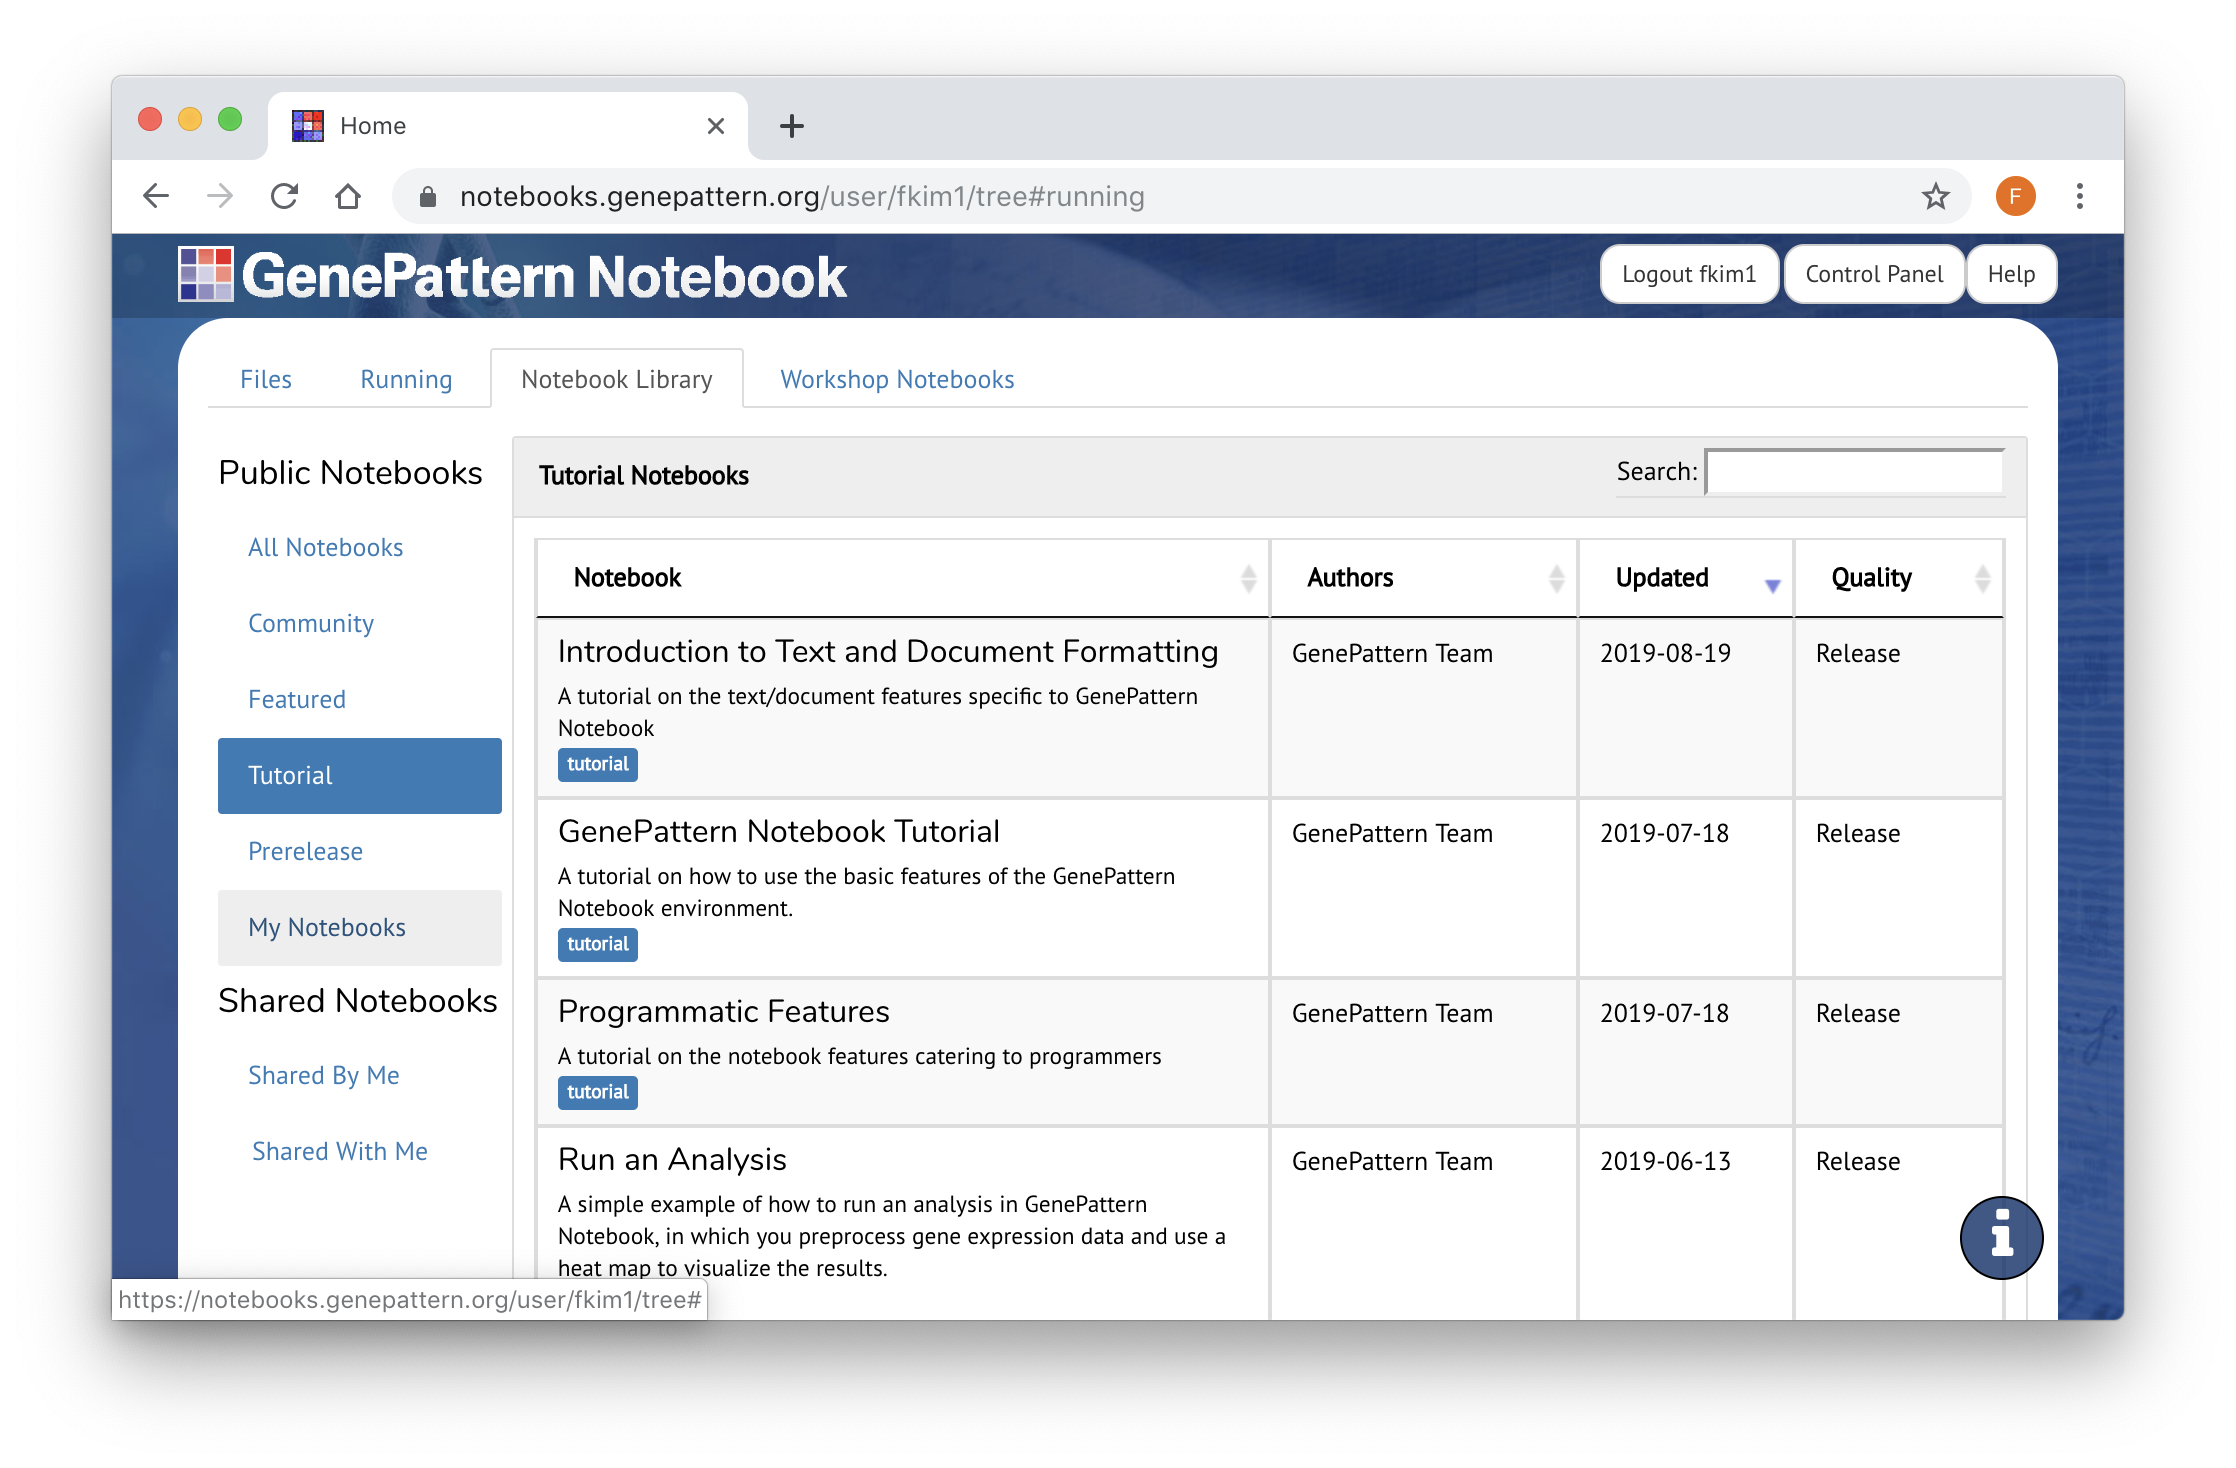
- Public notebooks are tagged and divided into several different categories. Featured notebooks have been selected because they provide templates for relevant bioinformatics and machine learning workflows.
- Tutorial notebooks teach how to use different GenePattern Notebook features, including advanced programmatic features.
- Community notebooks are those that have been contributed by the GenePattern Notebook community.
- Finally, Workshop notebooks have been used by the GenePattern team for one of our workshops, seminars, or bootcamps.
In addition to the public notebooks, the Notebook Library tab also contains those that you have shared with specific collaborators or which have been shared with you. If this option is empty, it is because you haven't shared a notebook with anyone yet.
Open an Existing Notebook
Opening from the Notebook Library
While browsing the Notebook Library, clicking on any notebook with open a dialog box.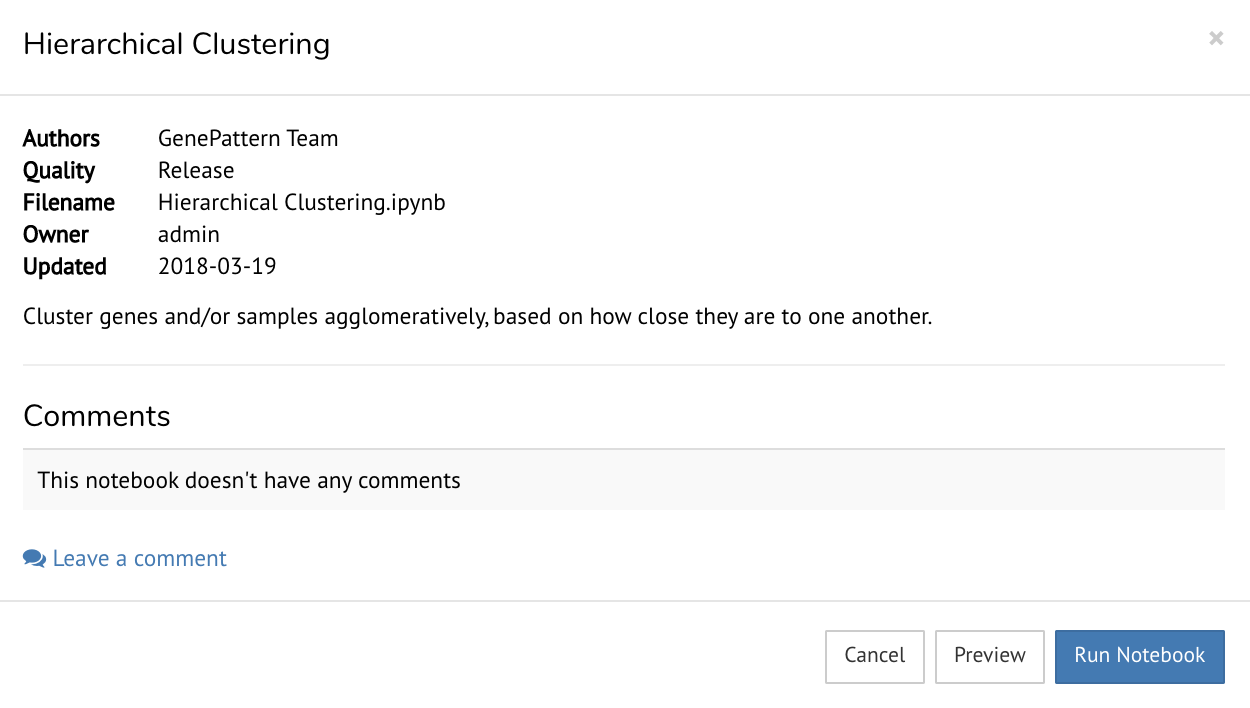
This gives you the option to preview a screenshot of the notebook or run the notebook. Note that running a notebook will add a copy of it to your Files (Personal Workspace)
Opening From Your Files (Personal Workspace)
Clicking on any notebook in the list will open it in a new tab.
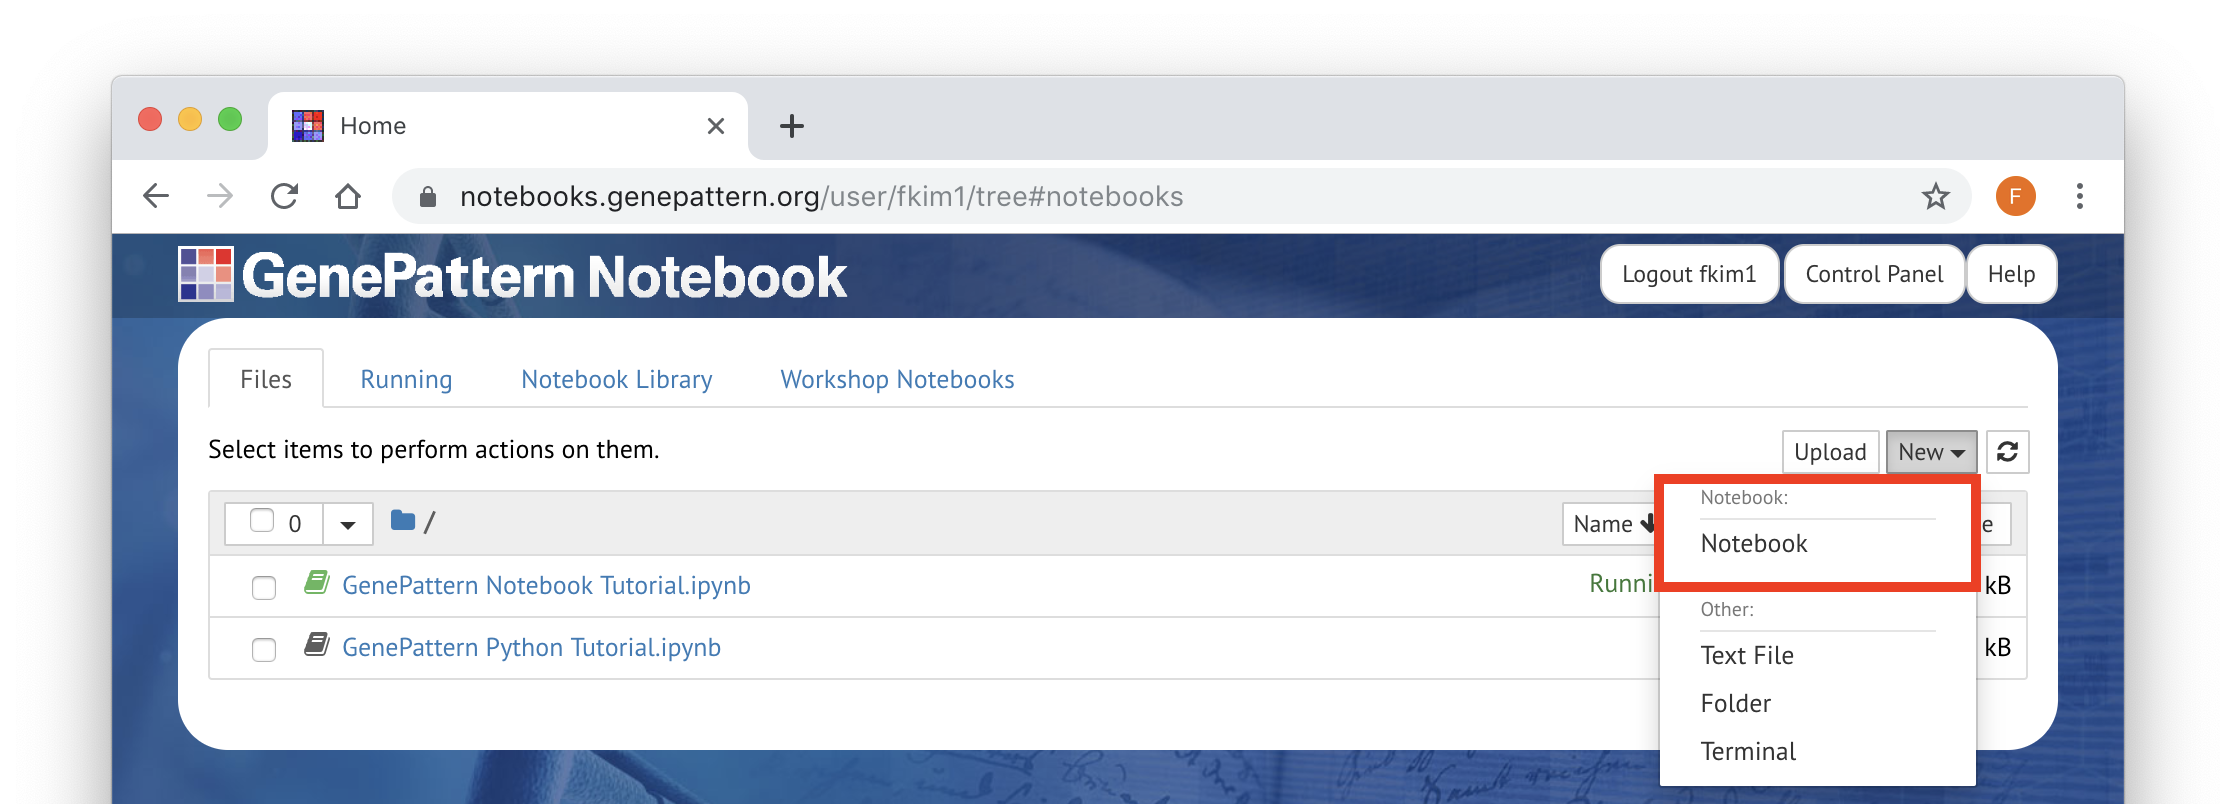
Create a New Notebook
To create a new blank notebook, click on the New menu and select Notebook on the list. There are also options here for creating new text files, folders, and terminal sessions.
Using GenePattern in a Notebook
At the top of every notebook is a menu bar and toolbar for working with the notebook. Below this is the notebook’s first cell. Python code can be executed from cells, documentation can be added and GenePattern widgets can be entered to launch analyses. For general information on how to use Jupyter notebooks, see the Jupyter documentation.
Log Into GenePattern
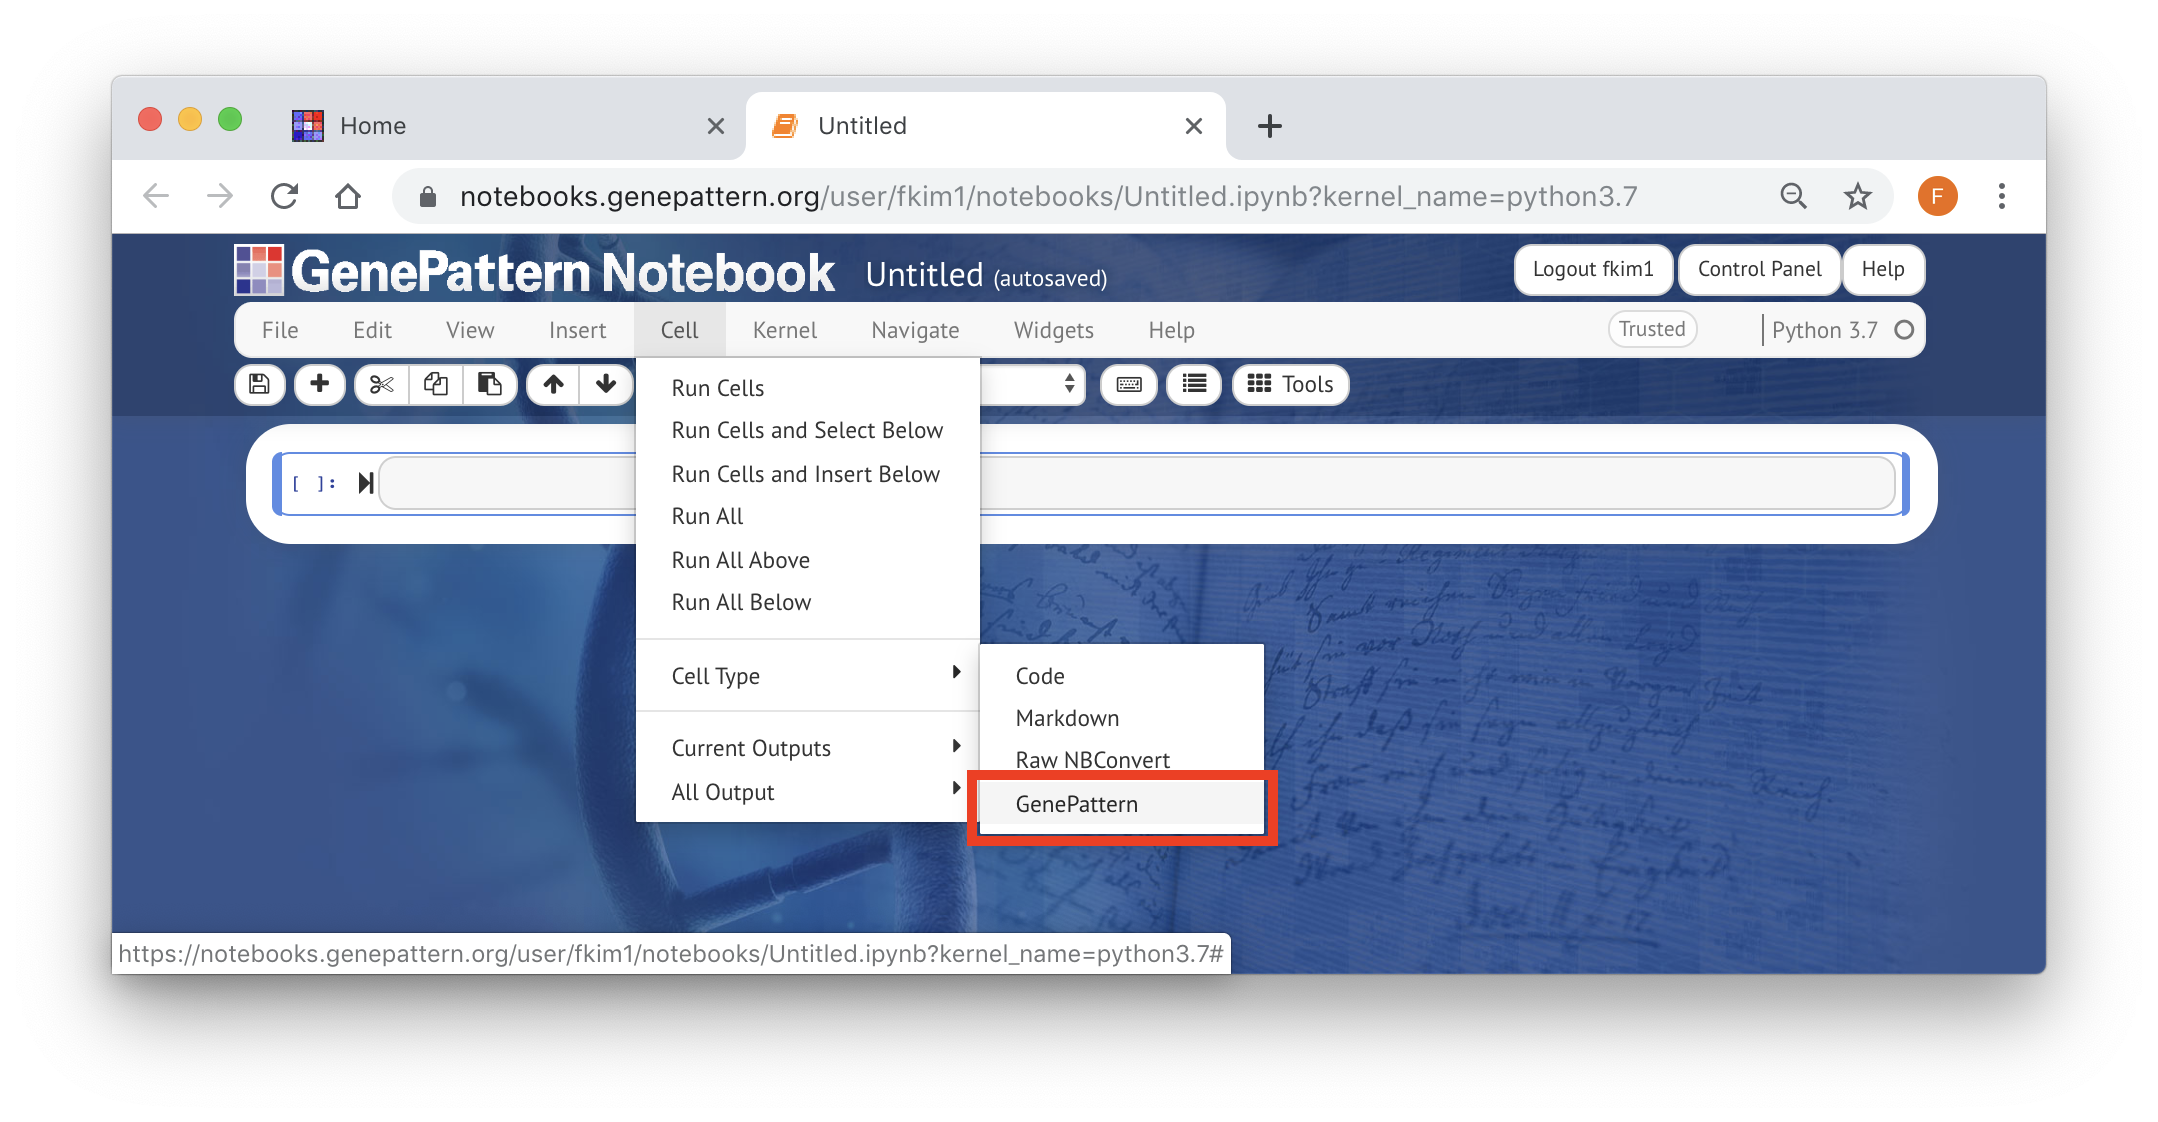
- Select any blank cell
- Change that cell’s type to GenePattern using the menu found in the Jupyter toolbar. You may be prompted to confirm that you want to turn this cell into a GenePattern cell. This is expected.
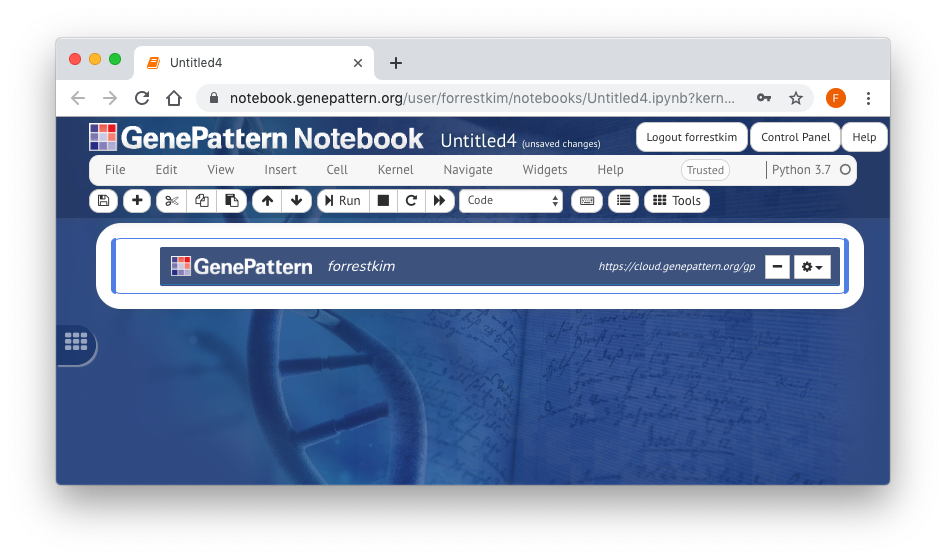
- Once inserted, the cell will prompt you to log in to the GenePattern Server. Since you are already in the Workspace, select "Login as [username]" to automatically sign in. The default server is the GenePattern Cloud server, https://cloud.genepattern.org.
- Once you have filled in these fields, click Log in to GenePattern.
Begin an Analysis
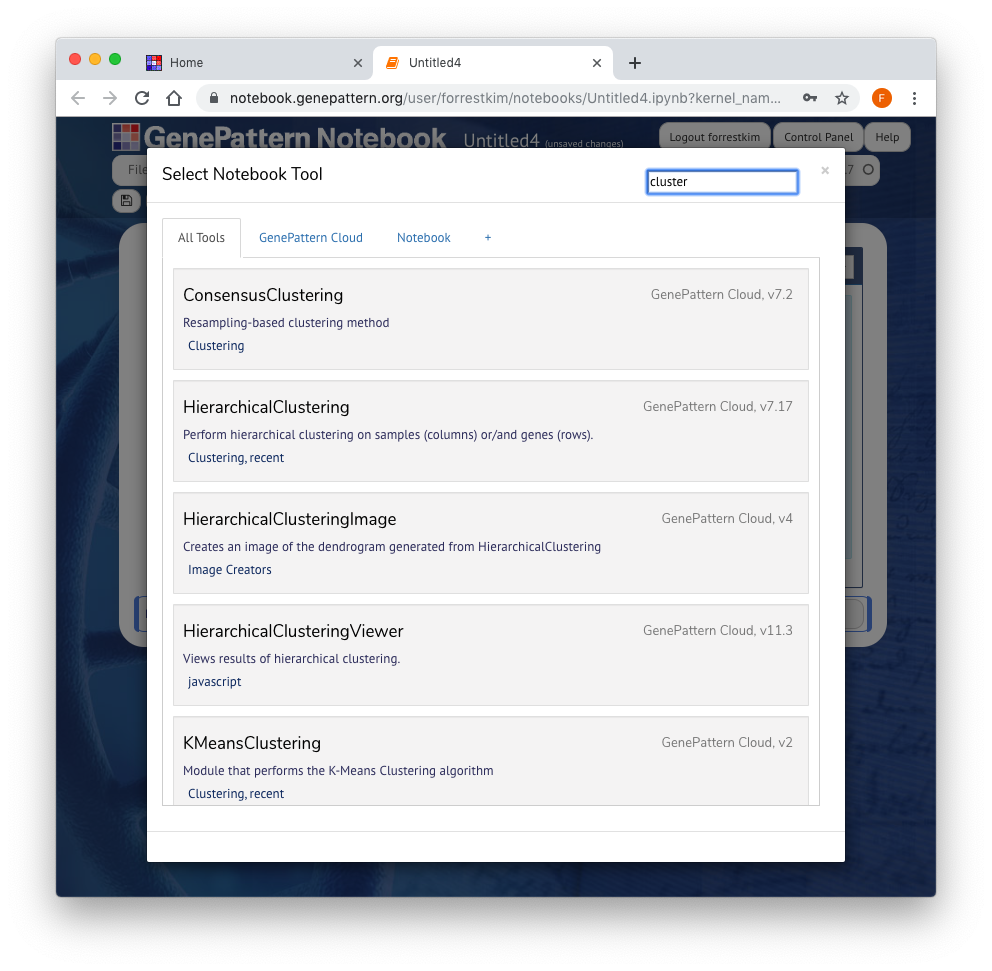
Once you are logged in, a GenePattern button will appear on the left side of the Notebook. This button is only visible when a GenePattern cell is selected. Clicking this button will open a sliding menu, which allows the user to select and run GenePattern analyses on the GenePattern server.
You can search these analyses using the Type to Filter box found in the upper right corner of the sliding menu. Once you have selected an analysis, click it to add it as a cell in the notebook.
Every task has a number of parameters, which can be used to upload data and to select other options for the analysis. Once you fill in these parameters, click "Run" to submit them as a job on the GenePattern server.

Once the "Run" button has been clicked, all selected files will upload and then the cell will change to indicate the status of the job in GenePattern’s queue. Jobs progress through the states of Pending, Running and finally either to Completed or Error.

Working With Results
When an analysis is completed, the cell will display the result files. Clicking on one of these files will show a menu of options, such as viewing the file, using the output programmatically in Python code or sending the file to a downstream analysis. If an analysis resulted in an error, it will present an error log. This file can be viewed to determine what went wrong with the analysis.
Result files can only be sent to GenePattern cells which are ready to accept input files.

The result file of one analysis can be easily be used as input for a later analysis. Simply click the result file to open the menu, and select either an existing downstream task or a new task. Clicking one of these options will place the correct value for the result file into the downstream form. In the case of sending to a new task, a new cell will be created for the downstream analysis. Alternatively, result files can also be dragged-and-dropped into the correct form.
Access in Python
Programmatic access to all GenePattern jobs and results is also automatically available using GenePattern’s Python library. Any job executed in a notebook can afterward be referenced using
job
followed by the job number. For example, if a job number is
137230

(such as in the screenshot above), the variable name would be job137230 Entering this into a code cell will return a reference to a GPJob object.
- For more information on using the GenePattern Python library, see the GenePattern Programmer’s Guide.
Code examples of how to reference GenePattern jobs or GenePattern result files are available in the notebook by clicking a job result and selecting “View Code Use” in the menu.