Contents
GenePattern Cells
The GenePattern Notebook environment provides a number of graphical widgets that make performing analyses easy, even for non-programming users. These widgets take the form of GenePattern Cells that allow a user to prepare analyses, launch jobs and visualize results.
To insert a GenePattern Cell, insert a new cell, either through the Insert > Insert Cell Below menu or by clicking the button in the notebook toolbar. Once a new cell has been inserted, you can select the cell and then change the cell type to GenePattern either by using the Cell > Cell Type > GenePattern menu or by going to the dropdown menu in the notebook toolbar and selecting GenePattern from the list of options.
Keyboard Shortcut: G
Authentication Cells
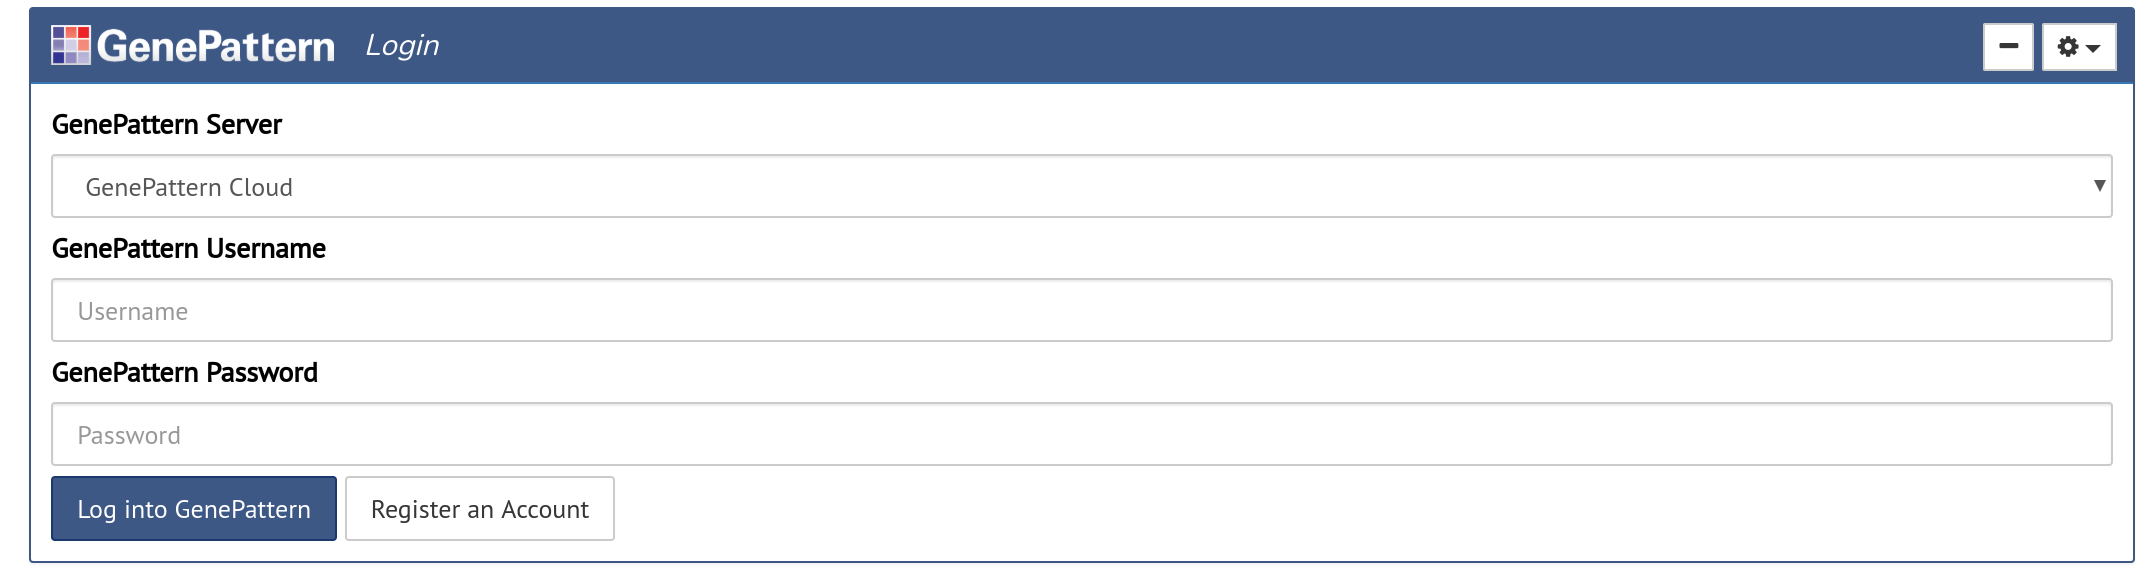
The Authentication cell allows a user to sign into a GenePattern server and run the analyses available there.
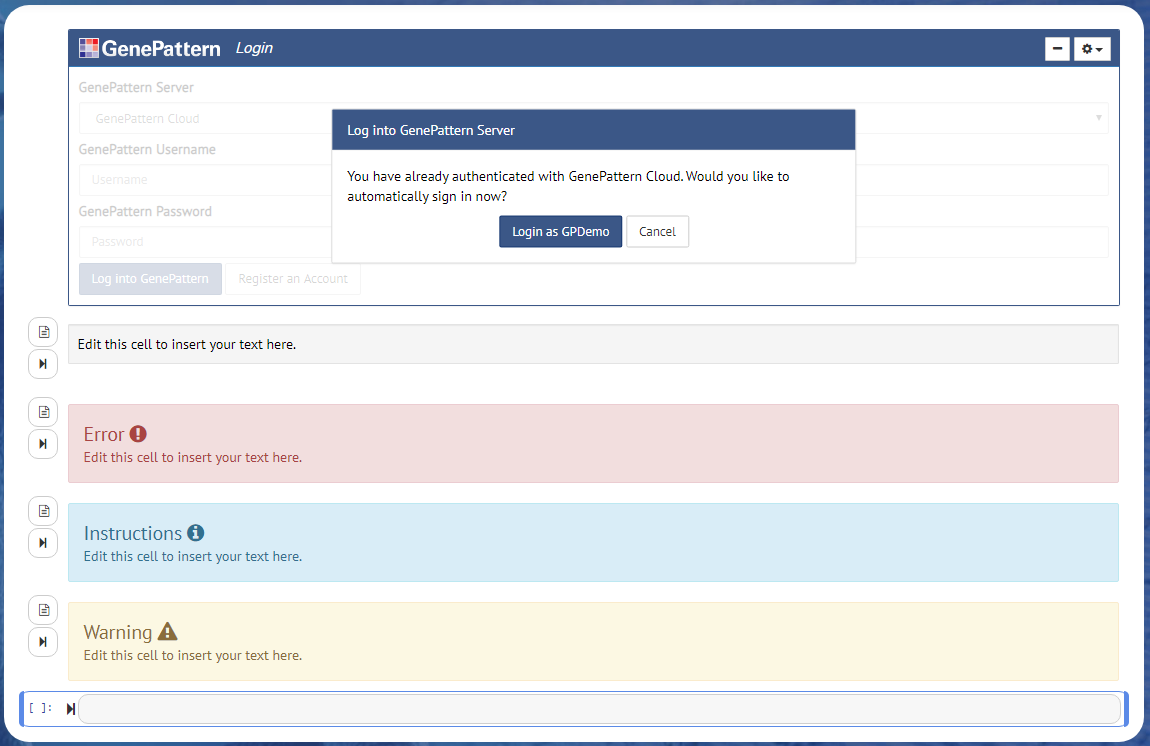
Authentication cells will look like a login form with the additional option of selecting which GenePattern server to sign into. If the user has already authenticated, such as when using the GenePattern Notebook Workspace, the user will instead be prompted to either sign in as the current user or to cancel and sign in as a different user
Analysis Cells
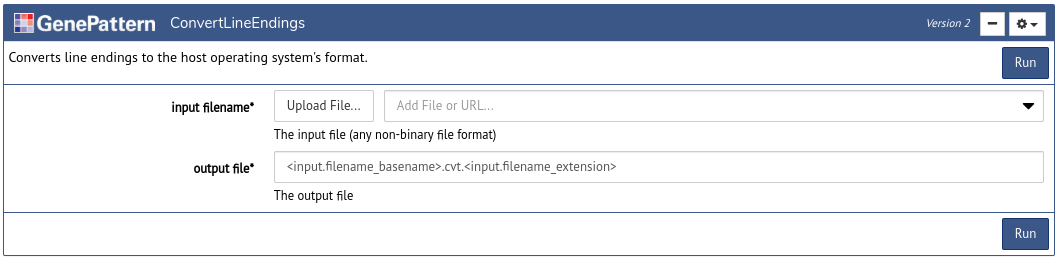
After a user has signed in using an Authentication Cell, the next task is usually to insert an Analysis Cell to perform an analysis. To do this click the Tools button in the notebook toolbar. This will open a dialog box with a list of available GenePattern analyses. Search or browse through the list and then click one of the options to insert an Analysis Cell of that type.
Every Analysis Cell has a number of parameters, which can be used to upload data and to select other options for the analysis. Once you fill in these parameters, click Run to submit them as a job on the GenePattern server.
Once the Run button has been clicked, all selected files will upload and then a Job section will be appended below the Analysis Cell to indicate the status of the job in GenePattern’s queue (see Analysis Jobs below).
Analysis Jobs
Once an analysis is launched, a new job section will appear in the analysis cell. This section represents the status of a job that has been submitted to GenePattern queue for processing. Jobs progress through the states of Pending, Running and finally either to Completed or Error.
Once a job has completed or experienced an error, the cell will update to display a list of outputs. These outputs are files that can be displayed in the browser, downloaded, or sent as input to another GenePattern analysis. Outputs are indicated by the icon.
To see a list of all output file options, simply click that output in the list and a menu will open, displaying the available options.
If this analysis includes visualization, the visualization will load and appear inside the Job section of the Analysis Cell.
Additional options, such as memory requirements, can be specified when submitting a job. These options are hidden by default, but can be made visible by going to the cell's Gear menu and selecting Toggle Job Options.
Markdown Cells
Markdown cells are another cell type available in the GenePattern Notebook environment. They allow a notebook author to take notes, document methods or embed images in a notebook document.
To insert a markdown cell, first insert a new cell, either through the Insert > Insert Cell Below menu or by clicking the button in the notebook toolbar. Once a new cell has been inserted, you can select the cell and then change the cell type to Markdown either by using the Cell > Cell Type > Markdown menu or by going to the dropdown menu in the notebook toolbar and selecting Markdown from the list of options.
Markdown cells allow the user to format text using either HTML or the Markdown syntax. Additionally, we provide a "What You See is What You Get" rich text editor (see the Rich Text Editor section below).
Keyboard Shortcut: M
Template Cells
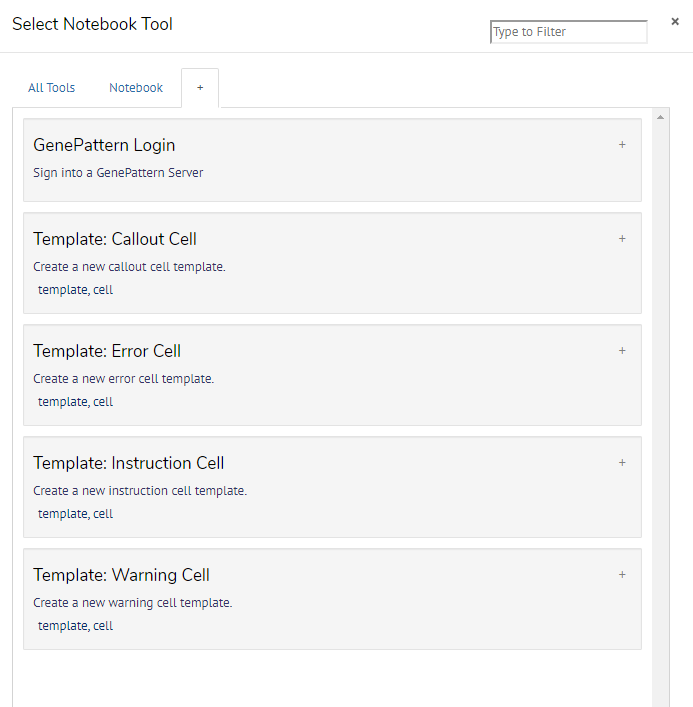
Template cells are pre-formatted Markdown cells that allow for the reuse of common cells such as GenePattern Login, Error and Warning cells
To insert a template cell, click the Tools button in the notebook toolbar, and then either switch to the tab in the tool manager or search for the template you are looking for.
The keyboard shortcuts to insert the call-out, error, instruction, and warning cells, are C, E, I, and W, respectively.
Template cells are inserted in an editable state, as you will likely want to change their text. They can be edited in Markdown, HTML or in the Rich Text Editor, as described below.
Click the button, or use the keyboard shortcut Shift + Enter to finish editing.
Rich Text Editor
The GenePattern Rich Text Editor allows a user to format notes and documentation in a notebook in much the same way that one might use Microsoft Word or Libre Office — without the need to write a single HTML tag or line of markdown.
To use the Rich Text Editor, first, insert a markdown cell (see the instructions above). Once a cell has been changed to the markdown type, two buttons should appear to the left of the cell. The button opens the Rich Text Editor and the button renders the text.
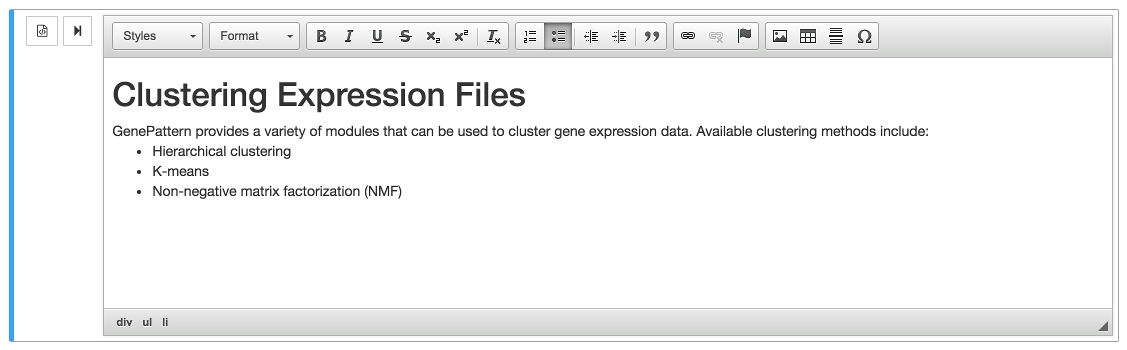
Click the button and the editor will appear. A toolbar will show above the cell, allowing the user to format text, insert headers or add links. Clicking on the button would toggle back to the HTML/Markdown editor. Style the text as desired, and when finished, click the button.
Workflow Execution
A GenePattern notebook can be executed as an automated workflow. When this happens, each cell is run in order, starting from the top. Code cells execute their contained code. GenePattern analyses are launched and the workflow waits for the analysis to complete before moving forward. If an error is encountered - either as the result of a code cell or the status of a GenePattern job - execution halts and waits for user input.
By combining this feature with the Job Result Syntax feature, a workflow can be configured to run each step in sequence, taking the output of upstream steps and sending the results as the input to downstream analyses.
To run a GenePattern notebook as a workflow, first locate an authentication cell and click on the gear menu. Select Run Notebook as Workflow. A dialog box will pop up displaying the status of running the workflow. Simply wait for execution to complete.

Notebook Projects
The GenePattern Notebook Workspace allows users to create multiple workspace environments, called “projects.” Each project allows users to independently install extensions, libraries, data files and other dependencies necessary for their biologic or bioinformatic workflows.
Users should be able to leverage notebook projects to keep independent work separate, to manage mutually-conflicting dependencies and to support a diverse array of computational tools.
When you sign in, you will be presented with a list of your available projects. You may search, browse or manage your projects from this page.
If you were a GenePattern Notebook Workspace user prior to the release of notebook projects, your list will consist of a single project encapsulating your previous workspace environment. Regardless, you will also have the ability to create new notebook projects.
When creating a project, you will be prompted to assign it a name and a description. These may be changed later by editing the project.
To launch a project, simply click on it in the list. This will open the project in a new tab. Behind the scenes, the GenePattern Notebook Workspace launches an independent Jupyter instance. These instances are gracefully suspended after an hour of inactivity, and may be resumed at a later date.
Once a project has been launched, you should see the familiar GenePattern Notebook (Jupyter) interface. From here you may install libraries, run analyses or perform other work necessary for your research.